A slicer is a visual filter you place directly on a Power BI report canvas. When a user selects a value in the slicer, every connected visual on the page filters to show only data matching that selection. Slicers are the standard way to let report users control what data they see without editing the report itself.
How to add a slicer in Power BI
Follow these four steps to add a slicer to any Power BI report page. The process is the same whether you are working in Power BI Desktop or the Power BI Service.
Open the Visualizations pane and select the Slicer visual
In Power BI Desktop, the Visualizations pane is on the right side of the screen. Click the slicer icon (it looks like a funnel with horizontal bars). An empty slicer placeholder will appear on your report canvas.
Drag a field into the slicer
From the Data pane on the right, drag any column or measure into the Field well of the slicer. For example, drag a Region column and the slicer will list all region values. Drag a Date column and it will show a date range selector.
Choose a slicer style in the Format Visual pane
Click the Format Visual tab (the paint roller icon) and expand the Slicer Settings section. Under Style, choose from List, Dropdown, Tile, Between (for numeric ranges), or Relative Date. Select the style that fits your report layout and user needs.
Test the slicer by clicking a value
Exit edit mode and click any value in the slicer. All connected visuals on the page should instantly update to reflect only the selected data. If visuals are not responding, check that the slicer and the visuals share the same data source table or a related table through your data model.
To make a slicer apply across multiple report pages, go to View and open the Sync Slicers pane. Check the pages you want the slicer to appear on and tick the sync column for the pages where the filter should apply automatically.
Slicer types in Power BI
Power BI offers five slicer styles. The right choice depends on the type of data in the slicer and how much space you have on the report canvas.
How to format and customize a slicer in Power BI
Once your slicer is working correctly, formatting it to match the rest of your report is straightforward. Select the slicer and open the Format Visual pane to access these settings.
- Slicer header. Toggle the header on or off, change the text, font, size, and color. Many developers turn off the header to save space when the slicer position on the page makes its purpose obvious.
- Values font and size. Set the font family, size, and color of the individual items listed in the slicer. Keep this consistent with the body text style used elsewhere on the page.
- Selection color. Choose the background and text color for selected items. Using your brand accent color here makes selection states visually clear and intentional.
- Border and background. Add or remove a border around the slicer visual, set corner radius, and optionally give it a background fill. A subtle border helps visually separate the slicer from chart elements.
- Single select vs multi-select. Under Selection Controls, toggle whether users can select one value or multiple values at a time. You can also enable a Select All option to let users quickly reset to the full dataset.
When standard slicers reach their limits
Standard slicers work well for simple reports. But as reports grow more complex, slicers start to create friction rather than remove it. These are the situations where users start working around slicers instead of with them.
A better approach: replacing slicers with ZoomCharts interactive visuals
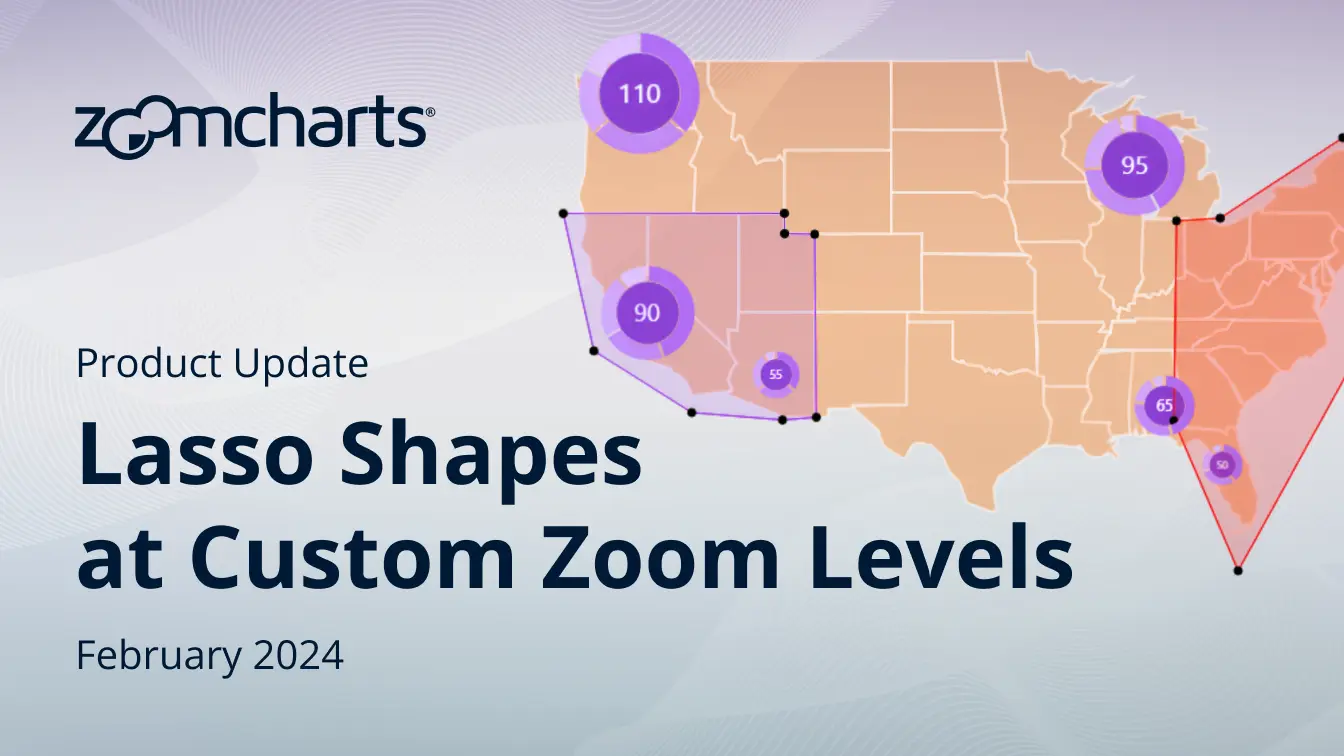
ZoomCharts custom visuals for Power BI eliminate the need for most slicers by turning every chart into a filter. Instead of selecting a value from a separate slicer panel, users click directly on a bar, a slice of a donut, a point on a map, or a node in a hierarchy. The entire report filters instantly in response.
This approach solves every limitation listed above and goes further: it is one of the key building blocks of 4U Reports, a design standard for Power BI reports that puts user experience at the center of every reporting decision.
4U Reports are built around four user-centered stages: Unique, User-friendly, Uncovering, and Understanding. ZoomCharts visuals directly enable the two middle stages that slicers fail to deliver.
When ZoomCharts visuals replace slicers, reports move one significant step closer to becoming 4U Reports: reports that users actively choose to open, explore with confidence, and return to every week.
How to set up cross-filtering with ZoomCharts visuals
Install ZoomCharts visuals from AppSource
In Power BI Desktop, go to the Visualizations pane, click the three-dot menu, and select Get more visuals. Search for ZoomCharts and import the visuals you need. They will appear in your Visualizations pane alongside native visuals.
Add your data fields to the visual
Place a ZoomCharts Drill Down Donut, Bar, or Map visual on your canvas and add your category and value fields. The visual renders immediately with your data and is ready to interact with.
Enable the Use as Filter toggle
In the Format Visual pane, find the Use as Filter toggle and enable it. This tells Power BI to treat clicks on this visual as cross-filters that update all other connected visuals on the page.
Click any element to filter the report
Exit edit mode and click any segment, bar, or region in the ZoomCharts visual. All other visuals update instantly. Click again to deselect. No slicer panel required, no configuration needed by the user. This is the Uncovering stage of a 4U Report in action: users exploring data freely by clicking, not configuring.
Standard slicers vs ZoomCharts visuals: which should you use?
Both approaches have a place in Power BI reports. The right choice depends on the complexity of your report and how much exploration your users need to do.
| Feature | Standard slicer | ZoomCharts visual |
|---|---|---|
| Setup time | Under 1 minute, native to Power BI | Under 2 minutes, requires AppSource install |
| Visual context | Labels only, no data shown before selecting | Full chart shows data before any interaction |
| Drill-down | Not supported | Built in, click to go deeper into hierarchies |
| Interaction model | Select from a list or dropdown | Click directly on chart elements |
| Mobile and touch | Usable but not optimized | Designed specifically for touch interaction |
| Canvas space needed | Requires dedicated space for slicer panels | No extra space needed, filter is the chart |
| Best for | Simple reports, date ranges, familiar UX | Complex reports, executive views, exploration |
| Can be combined | Yes. Standard slicers and ZoomCharts visuals work together on the same report page. | |
Use a standard slicer when your report is straightforward, the filter set is small, or your users are accustomed to traditional slicer panels and you do not want to change familiar behavior.
Use ZoomCharts visuals when you are building for executives or non-analyst users who need to explore data without configuration, when you have hierarchical data to drill through, or when you want reports that feel fast and modern on any device.
If you are aiming for the highest standard of report usability, ZoomCharts visuals are one of the core building blocks of 4U Reports: Power BI reports designed around four user-centered stages — Unique, User-friendly, Uncovering, and Understanding — so that every user, not just analysts, can open them confidently, explore freely, and act on what they find.
Frequently asked questions
Go to the Visualizations pane, click the Slicer icon, then drag a field from your data model into the Field well. The slicer will appear on the canvas and immediately begin filtering connected visuals when a user makes a selection.
Power BI includes six slicer styles: List, Dropdown, Tile, Between (for numeric ranges), Relative Date, and Relative Time. You can switch between styles at any time from the Format Visual pane without losing your data configuration.
Select your slicer, then go to View and open the Sync Slicers pane. A list of all report pages appears. Check the sync icon next to each page where you want the slicer filter to apply automatically when a user makes a selection.
The most common cause is a missing relationship in the data model. The slicer field and the fields used in your other visuals must be connected through a defined relationship in the model view. If the tables are unrelated, the slicer will not affect the visuals. Check your model view and add the necessary relationship.
Yes. ZoomCharts visuals are fully compatible with Power BI slicers. You can use both on the same report page. For example, a date range slicer for time filtering combined with ZoomCharts drill-down charts for category exploration is a common and effective pattern.
No. ZoomCharts visuals for Power BI are plug-and-play. All configuration is done through the standard Format Visual pane in Power BI. If you already know how to build a Power BI report, you can use ZoomCharts visuals without any additional technical skills.
Yes. ZoomCharts visuals are built specifically to work well on touch devices. All drill-down and cross-filter interactions use large touch targets and respond to standard touch gestures, making them more comfortable to use on tablets and phones than traditional slicer panels.
Try ZoomCharts custom visuals for Power BI and see how click-to-filter exploration, built-in drill-down, and touch-optimized interactions change the way your users engage with reports. Used together with the 4U Reports design approach, they are the foundation for reports that every user, not just analysts, will actually open and use.
Start free 30-day trial Browse all ZoomCharts visuals